

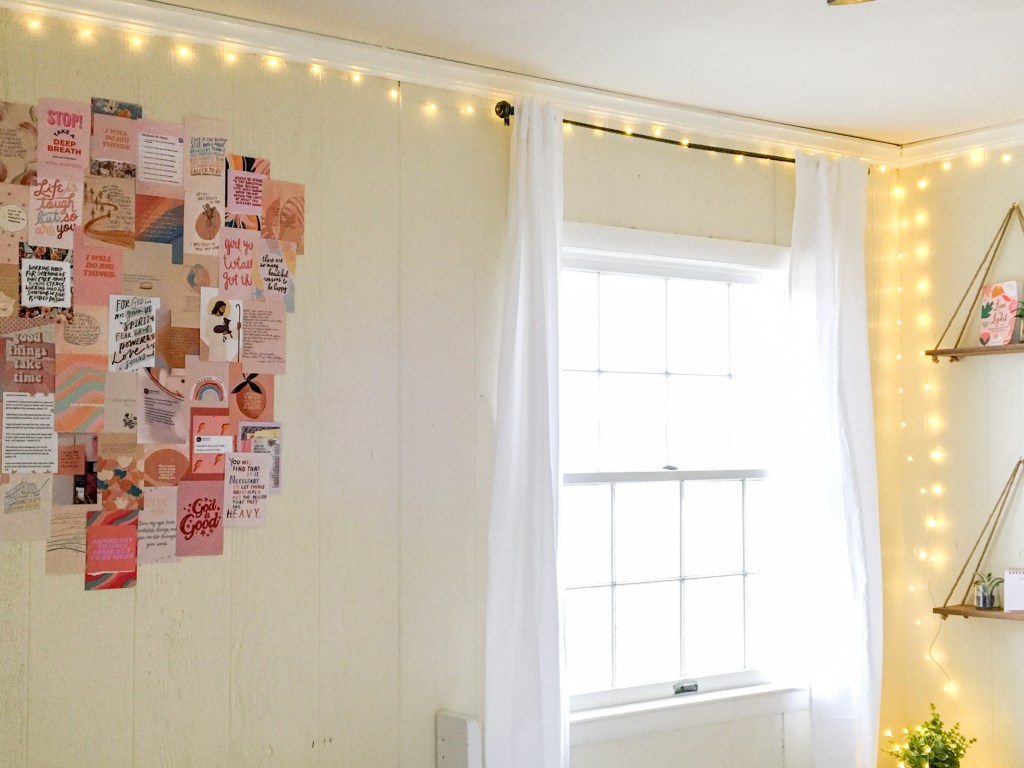
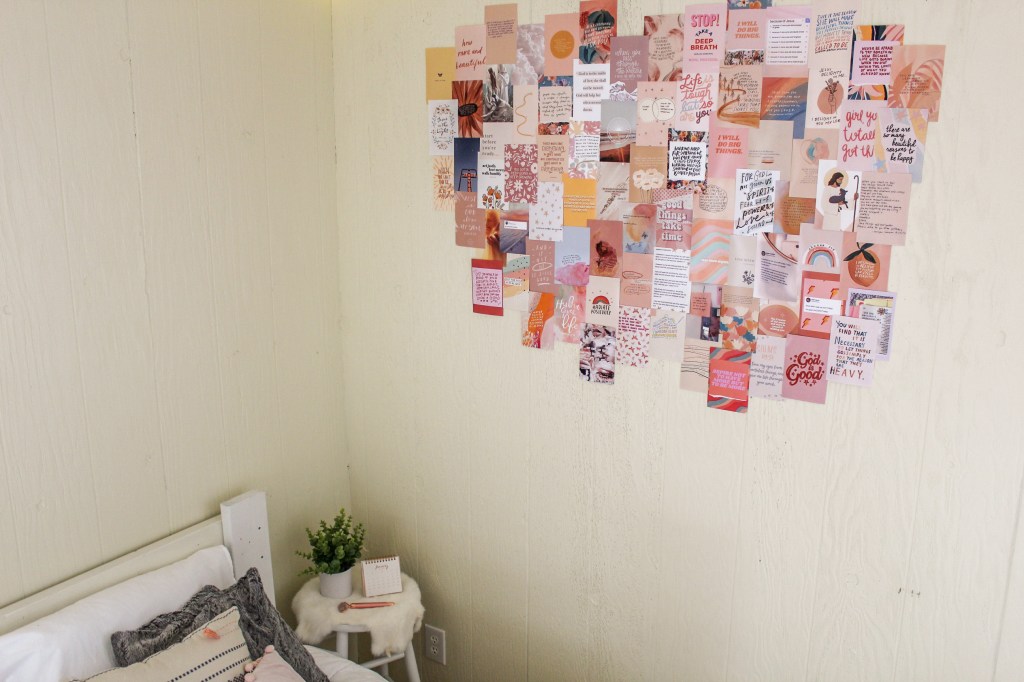
Hey friends! I’m soooo excited for today’s post (and I think you guys will be too 😉)! I’m sure you’ve all seen those lovely aesthetic collages in bedrooms & dorm rooms all over lately! I’ve been wanting to recreate one in my own bedroom for a while now and am finally getting around to doing it! There is this one bigger wall in my bedroom that was just completely blank (until now) and I love the pop of color with the rest of our more neutral décor.
Also, thank you so much to Wallflower Collages for partnering with me* and sending me the collage! There are a ton of people who sell wall collage kits online, but one thing I really love about Taylor’s shop is that she sells adorable Christian collages, which I haven’t been able to find anywhere else! I love cute décor, but when it’s cute and also is inspiring and has meaning behind it I love it even more! It’s so fun because if you have any leftovers after making your collage you can save them to send to friends with notes of encouragement! ❤
For this post I thought I’d share how to hang your collage from Wallflower Collages (or any other collage you made or have). It’s super simple and fun, so let’s get into the tutorial!
Supplies:
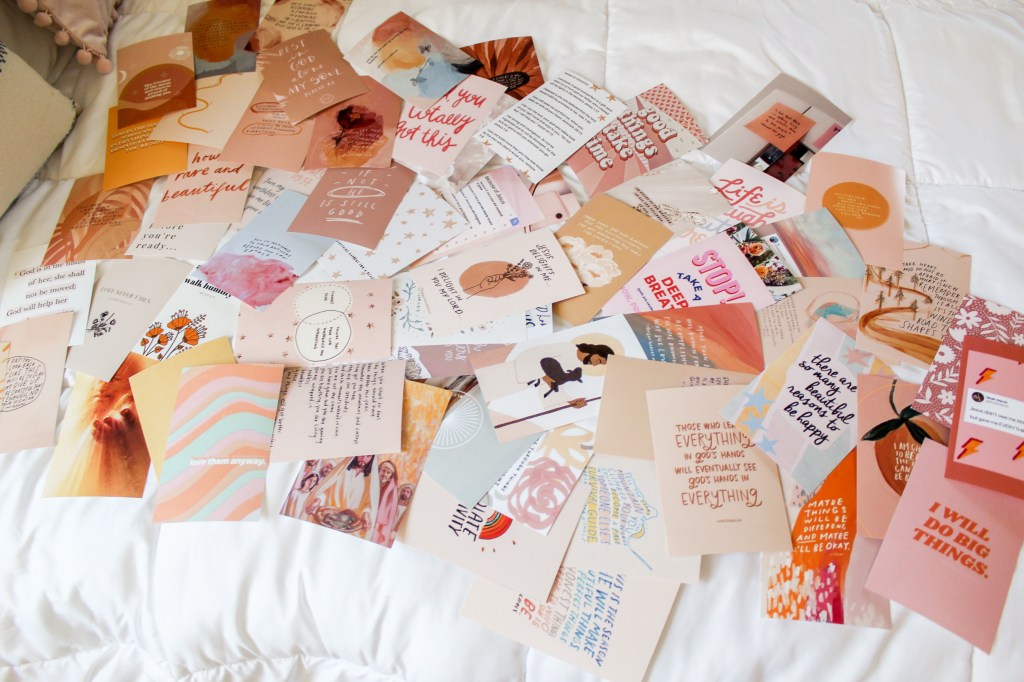
- 50 (ish) 4 x 6 prints in any specific color palette you like. (Wallflower Collages has a TON of adorable color palettes and themes to choose from, or you can print off your own photos/ designs)!
- Masking tape (I’ve found that this sticks really well and doesn’t take the paint off your wall).
Alright you guys, here we go!
To start, you’ll need to find a blank wall where you can hang the collage. My sister and I had this pretty big blank wall in our room that needed something on it and this was a lovely solution!
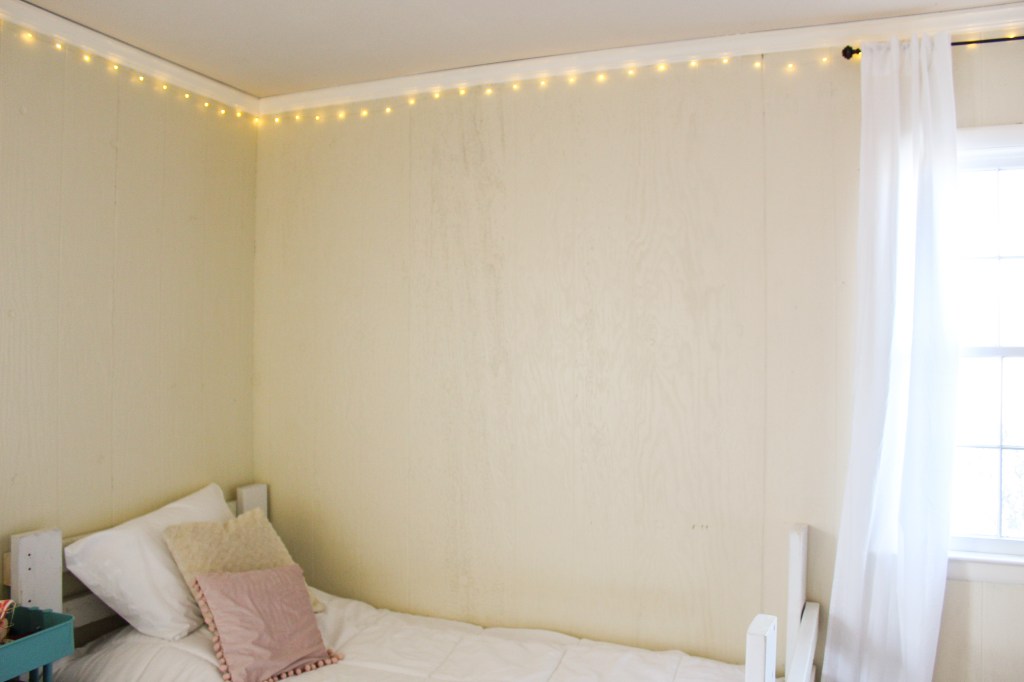
Next find the center of your wall (or you don’t have to, I’m just a perfectionist about this sort of thing 🙃) or area where you’ll be hanging the collage. I used some tape pieces to mark where I wanted the collage to start and end – it was super helpful!
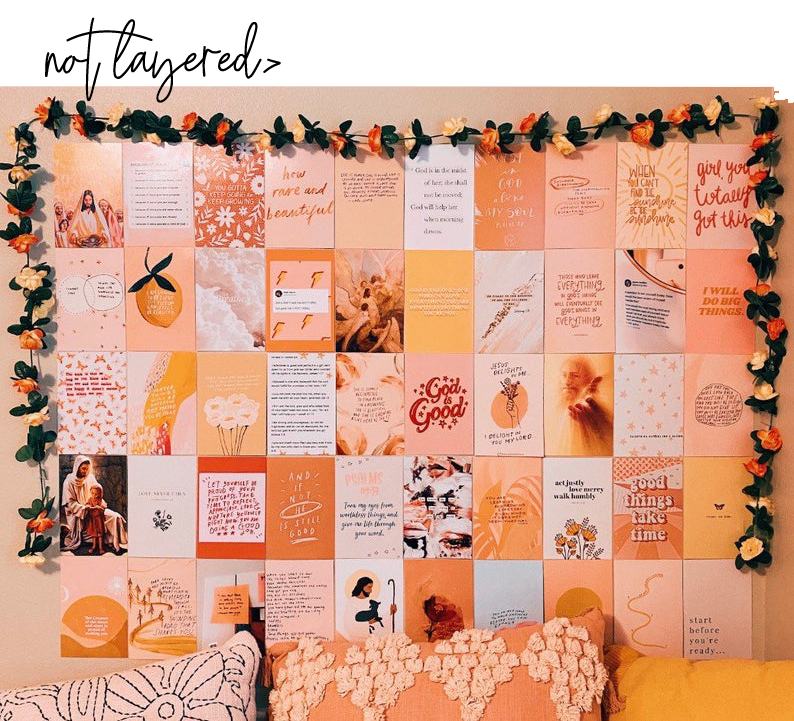
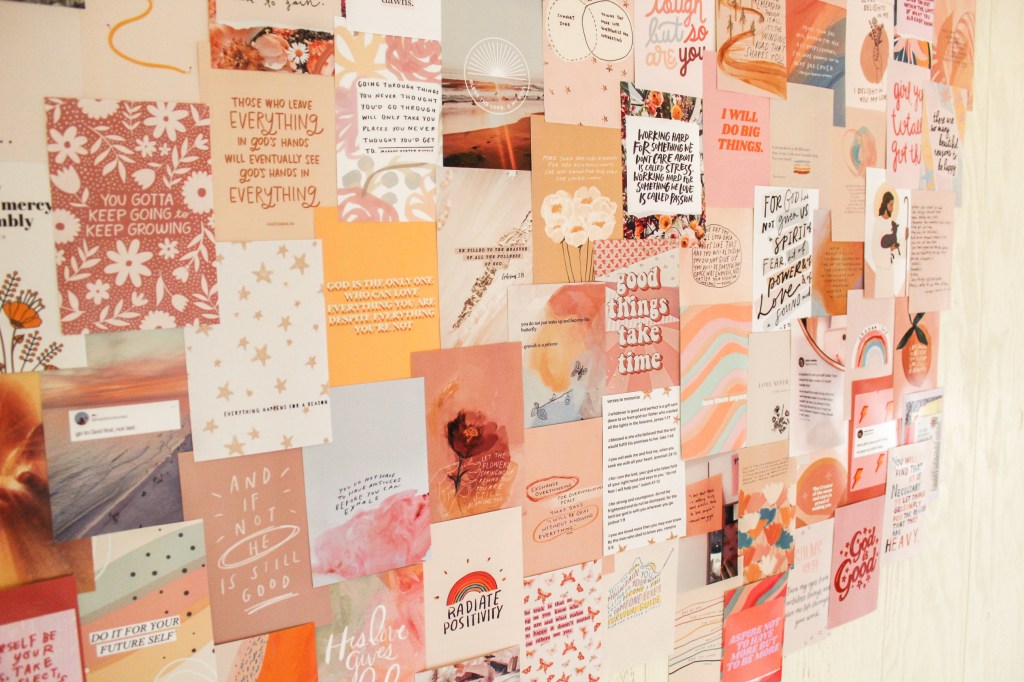
Then decide whether or not you want to layer your photos (examples 👇)

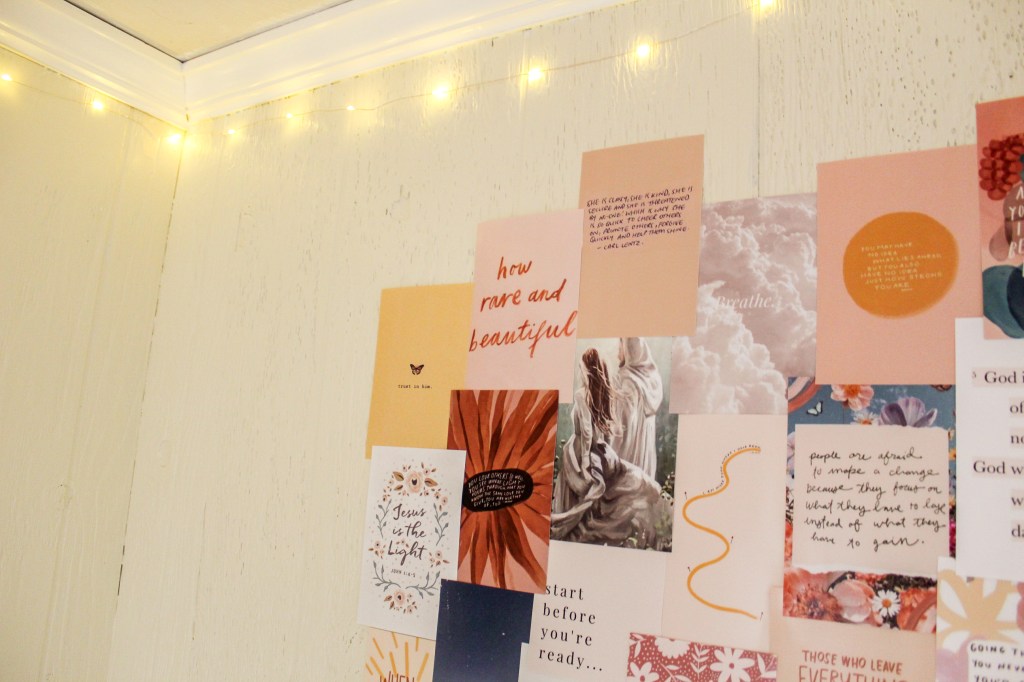
If you decide to layer your collage (which is the look I’ll be doing for mine), then simply start in the center with a few prints and work outward, filling any gaps with more photos as you go. Stick a piece of masking tape in each corner of the photo so it sticks really well and won’t fall down.
If you’d rather not layer your collage, just start in one corning and start taping the photos in a straight line (it might help to use a ruler and/or a yardstick to get a straight line) and continue taping each row until you’ve used all your photos and space.
Tip: Layering often works better if you have photos of multiple sizes or mementos that you want to include in your gallery wall, whereas not layering works best if you don’t want to include mementos and have photos that are all the same size. But of course, you can do it either way! 😁
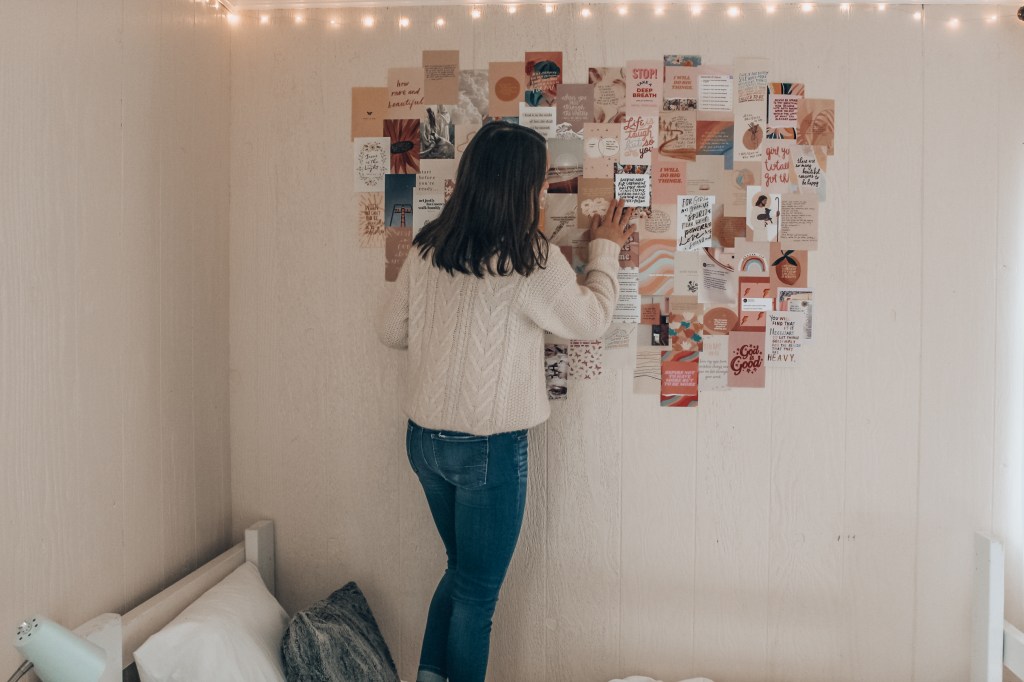
Alright here is the collage in my room going up!
I hope from that you guys can get an idea of how it went up! The hardest part is actually starting, but as you keep building it’s super fun to watch it come together!
Also, something that I got to thinking about while I was setting up the collage was how much work it would be to find all of these photos, make sure the colors went well together, etc. For me, that would be a ton of work and time! The good news is that Taylor has literally already done that for you! Her kit’s come with 50 high quality prints that work well together. All you have to do is choose which color scheme would work best for your space! ✔
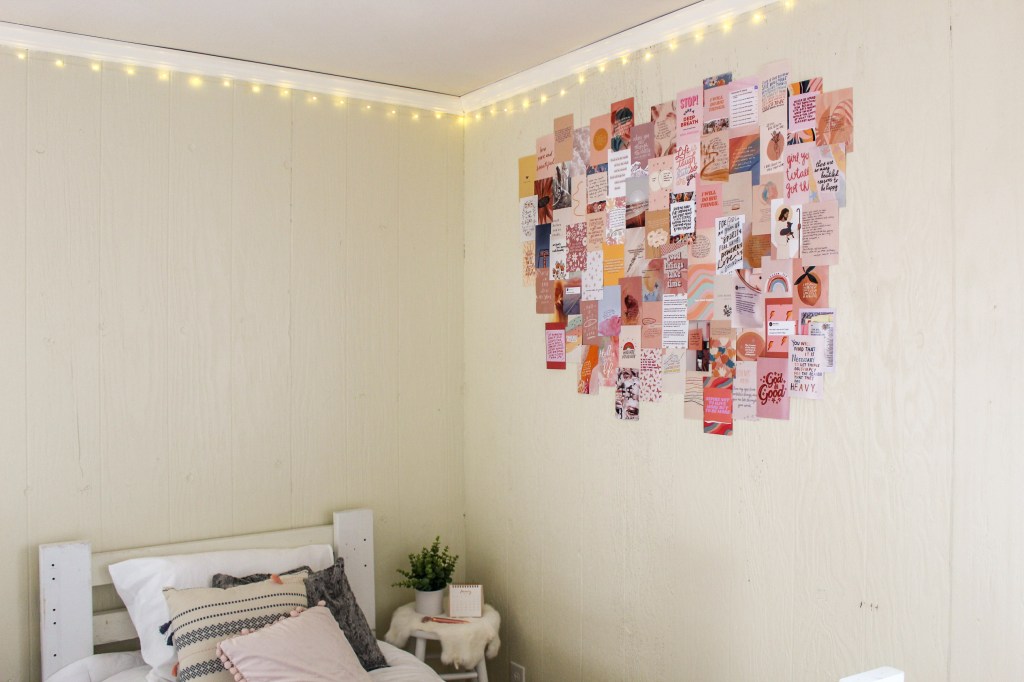
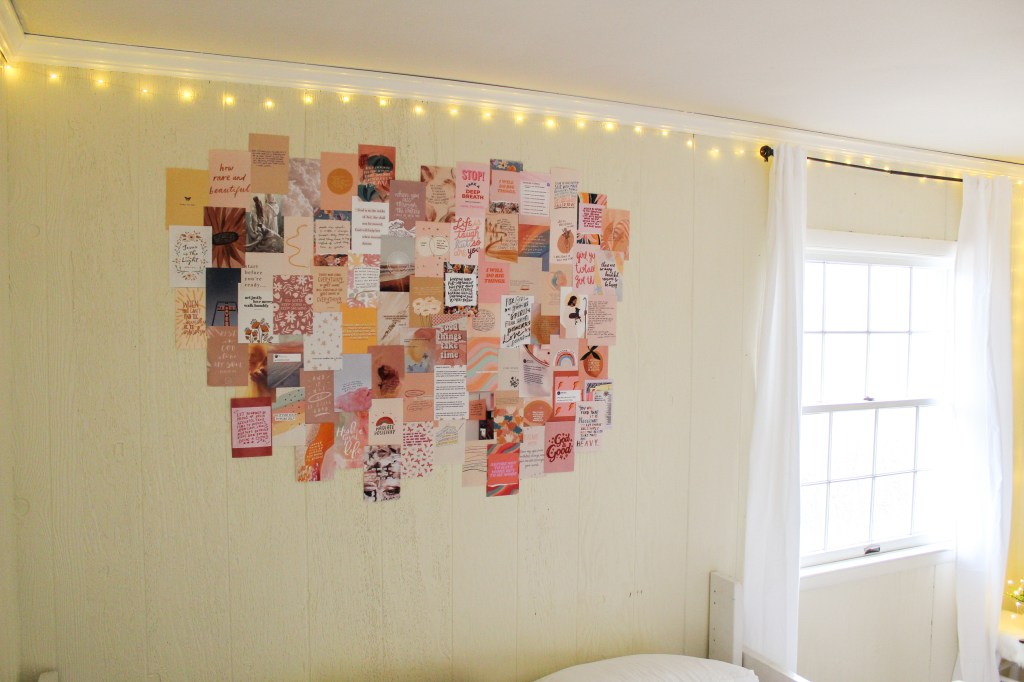
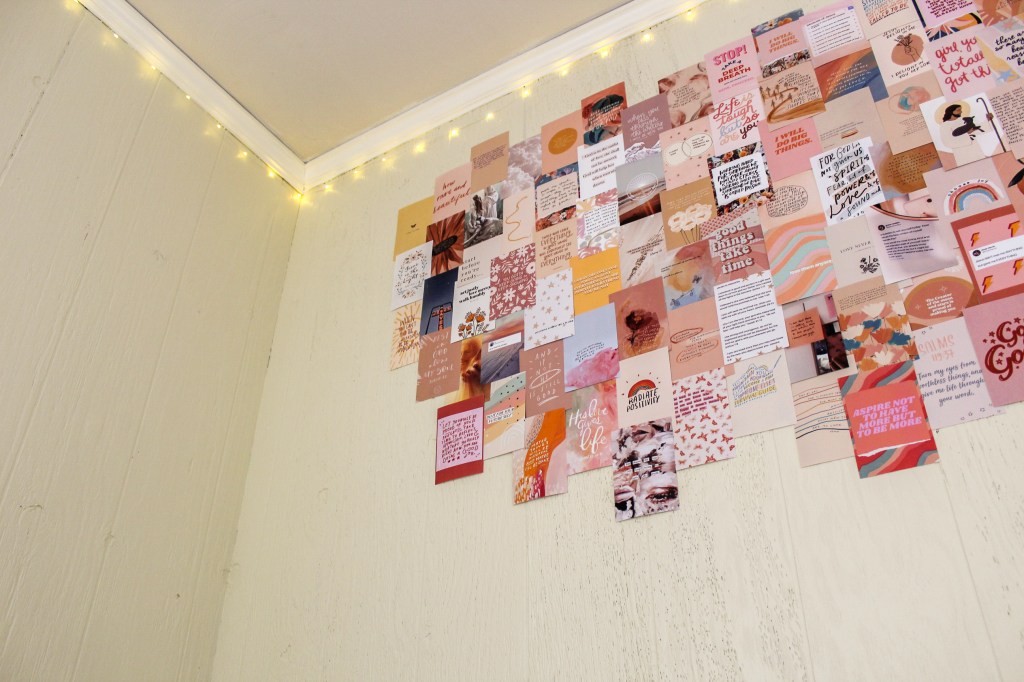
Here are some photos of the collage wall when it was finished!
Oh and I made a short little video of the finished collage because videos are fun and realistic and I don’t share them enough! ✨😄
❤ Hannah
P.S. Don’t forget to save this photo on Pinterest to save the post for later! 🤗
*Disclaimer: Wallflower Collages did send me a collage to review in exchange for sharing it with you guys. However, all opinions are my own and I wouldn’t share something with you guys if I didn’t genuinely appreciate it myself! Collaborations like these are what keep this blog going! 😊

This is super cute, Hannah!! Thanks for sharing!! 💕
LikeLiked by 1 person
I’m so glad you enjoyed Keziah! 😘
LikeLiked by 1 person
💕
LikeLiked by 1 person
Ahh super cute! I’ll have to check them out!! 🤩
LikeLiked by 1 person
Thank you so much! You totally should! 👍
LikeLiked by 1 person
Oh, adorable! This is too pretty 🥰
LikeLiked by 1 person
Aww, you’re so sweet! ❤✨
LikeLike
This is so cute! I love it!
LikeLiked by 1 person
Thank you so much Gaby! 💕
LikeLiked by 1 person
Your welcome! I have a wall sorta like that! It’s out of Polaroid’s and different pictures!
LikeLike
That’s so cute! It looks great in your room.
LikeLiked by 1 person
Aww, thanks! 🤗
LikeLiked by 1 person
Your wall is gorgeous! I’ve been trying to think about some ways to add some more colour into my bedroom, and this gave me a bunch of great ideas!
LikeLiked by 1 person
Thank you so much Kaitlyn! I absolutely love mine!
LikeLiked by 1 person
this is so cute but I have no idea what to put on my wall now because I was drawing and ran out of paper
LikeLike