

Hey guys! I’m so excited for this post and excuse my lack of posts and responding to comments recently. But now, I’m back with a super fun tutorial – perfect for back to school, church or just anytime you want try something fun & classy with your hair! As I’m sure you’ve seen, beach waves have been trending for a while now and I thought that it was definitely high time for a tutorial! This is one of my favorite looks and one I do often if I’m curling my hair. It’s super easy and only takes about 20 minutes or so for me to do!
I’m using a 1 inch Hot Tools Professional wand (found on Amazon here) and a little hairspray for this tutorial, so you really don’t need anything special! 😉
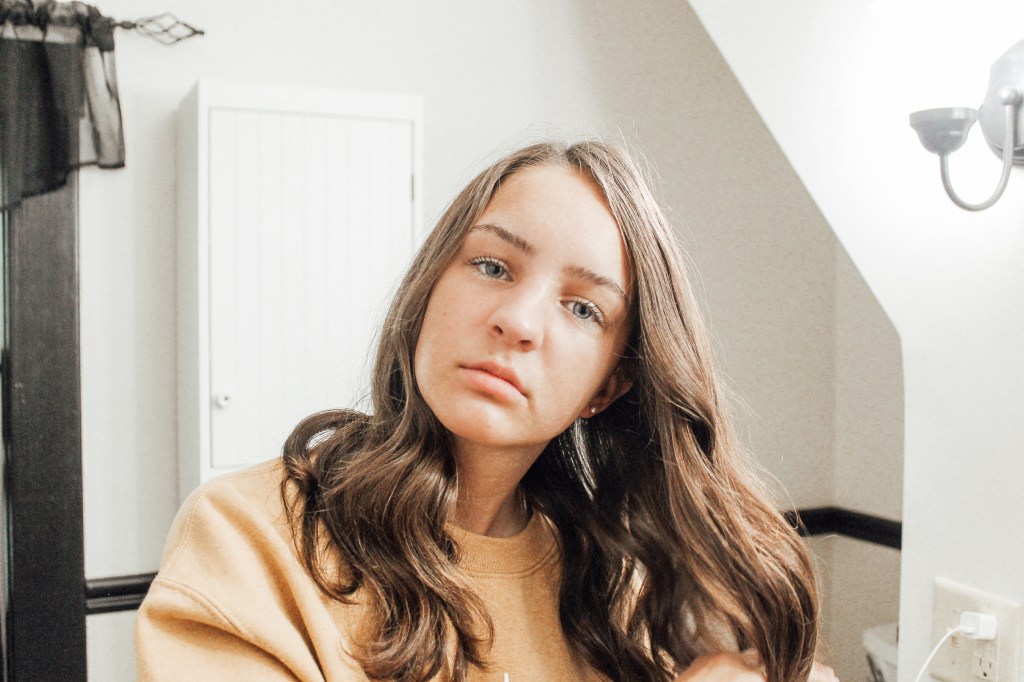
Also, the lighting on the photos turned out a little weird, so I just added some presets since I was too lazy to take hours editing the photos! 😛

Step 1: Prep your hair with a little hairspray and a brush. You can also use some texturing spray or heat-protecting spray if you’d like.

Step 2: Start at the front of your face, with any face-framing layers, curling away from your face, leave at least 2-3 inches of hair at the top of your head that isn’t curled. I know that most people say to start in the back and I used to do that, but recently I’ve been doing it in the front because often I curl my hair after getting out of the shower and the back of my hair stays wet longer. But really, it doesn’t matter too much if you start in the front or the back. Also, make sure that you are curling the hair AWAY from your face. This will give you the nice symmetrical look that you want it will just look 100% better!
The reason I say to leave at least 2-3 inches of hair at the top of your head that isn’t curled is because in the end it will look a lot more natural if you do this. You can totally curl up to your head, but I think it looks much more “beach wavey” if you don’t.

Step 3: Move through your hair, taking a variety of sized sections, varying from 1/2 inch to 1 1/2 inches, curling and scrunching as you go. Keep curling your hair away from your face and move through your hair taking different sized sections. Don’t forget to leave a couple of inches before each curl.

Step 4: Once you’ve finished the first side, move on to the other side of your head. You finished the first side! Now, go back to Step 2 and then come back to step 5.
Step 5: Let your hair sit for a couple minutes. Haha, yep, I know! I always want to just undo and fluff the curls to see how they look, but honestly, they’ll last so much longer if you just leave them for a couple minutes.
Step 6: LIGHTLY spray your hair with hairspray, then fluff and undo any ringlets. Spray your hair VERY LIGHTLY (you don’t want any stiff or sticky sections of your hair, it won’t immediately come unraveled if you spray lightly – trust me) I always used to spray and spray my hair when I curled it, then it would end up in sticky knots at the end of the day. After you’ve sprayed lightly, fluff and undo your hair a little bit, you know to make it more beachy!
This style usually lasts at least a couple of days if I don’t wash my hair and I’ve even got it to stay in after a run! 🙂
Here are a couple photos of the finished product:


And there you have it! Thanks for reading guys and if you enjoyed make sure to like & comment your thoughts below! 👍
❤ Hannah

Ooo! that’s so cute, thx for the tutorial!!🙃 also you’re super pretty!
LikeLiked by 1 person
Great job, Hannah! You look lovely!
LikeLike
Hannah, I just contacted you through Etsy on your shop!
LikeLike
Very cute! Thanks for sharing 🙂
LikeLike
LOVE IT!!!! Thank you, Hannah! 😊
LikeLike
Great tutorial! I will definitely try it! 😀
LikeLike
Ooh that hairstyle suits you so pretty!! Also, could you do a blog post on when maybe the best time to switch to WP Premium, if it’s worth it? Great post!
LikeLike
Thanks for the post! I’ve been wanting to try the beachy waves look, and now I know an easy way to do it! Do you mind if I ask you what type of hairspray you use? It’s hard to find a brand that works well, but doesn’t leave any hard, sticky residue. Thanks again for the lovely post!
LikeLike
Wow! Awesome tutorial! It’s looks great!
LikeLike